
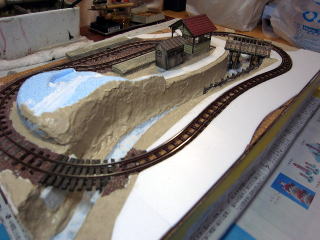
120623 Sachi Station Small Layout

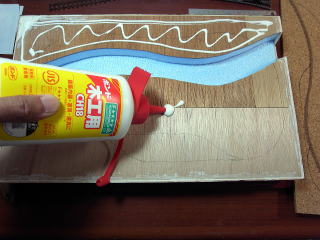
I paint a cut end part with adhesive and make an end frame in Tucker

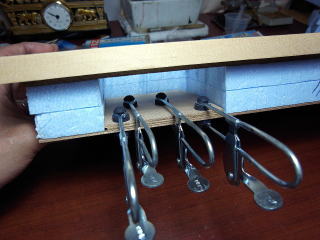
It is glued veneer together by the reinforcement of the power pack mount.
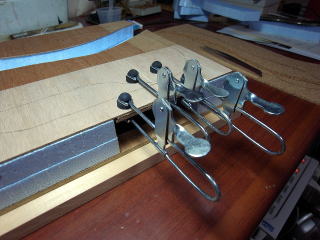
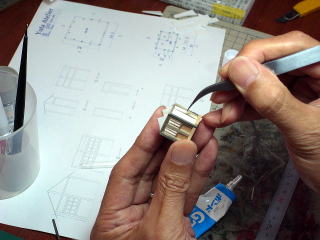
This one-touch clamp is quite convenient
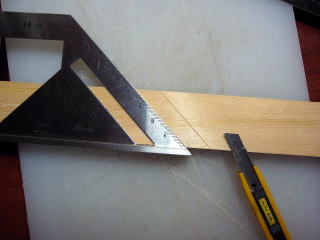
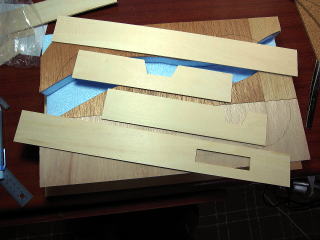
I make a smoothly planed board with course veneer.
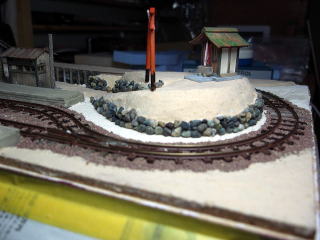
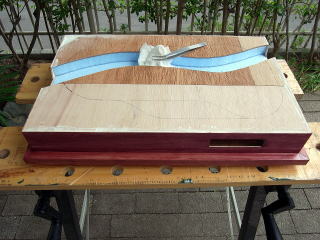
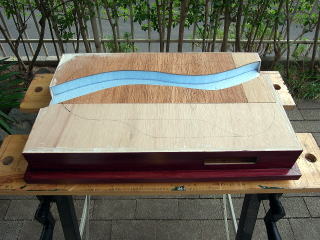
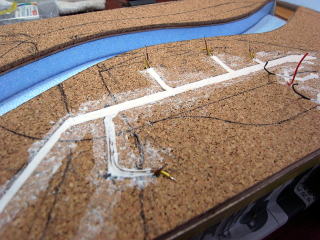
The topography has orthopedic treatment with the plaster which I mixed dust with
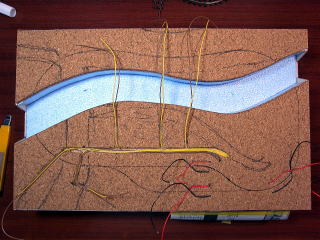
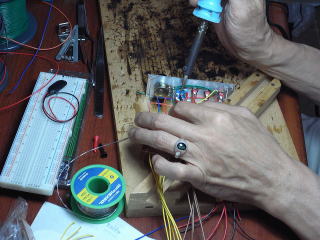
I draw wiring for streetlights in 0.2 Teflon line
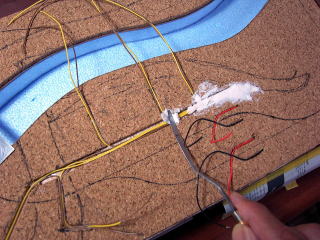
I plaster a plaster
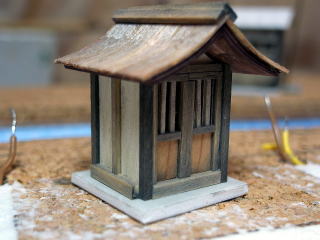
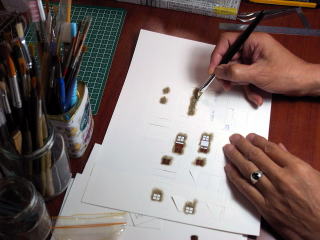
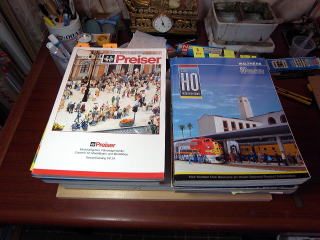
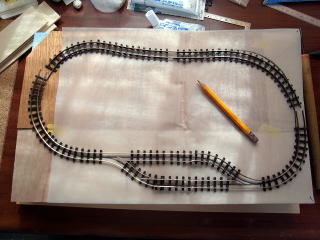
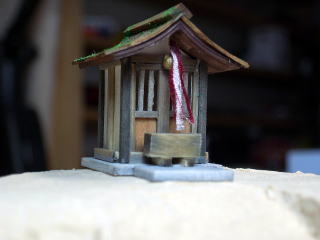
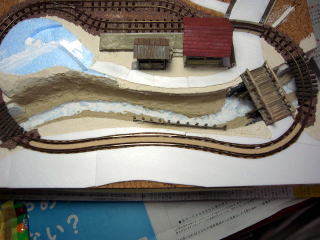
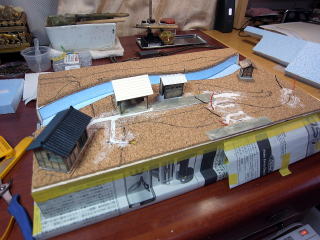
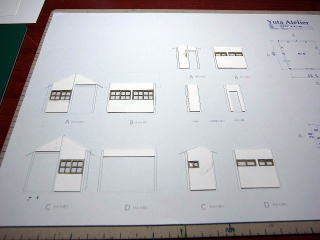
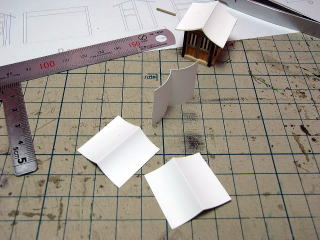
I arrange each part for a plan and confirm it This laminates hair to the shrine roof of the Shinto shrine and adjusts thickness and is examining it
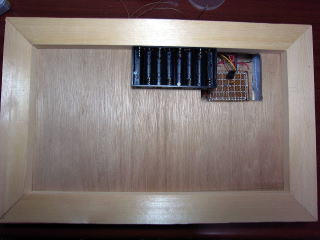
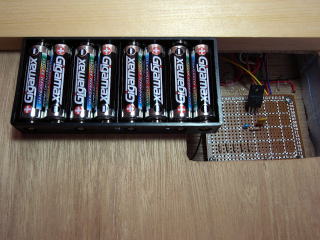
Set a dry cell; and ...
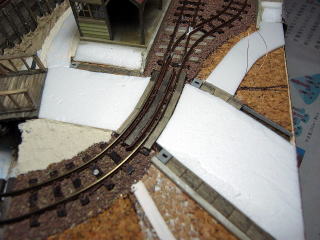
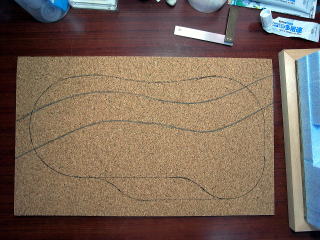
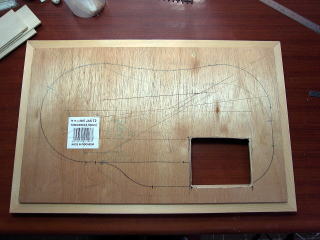
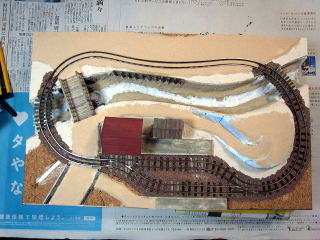
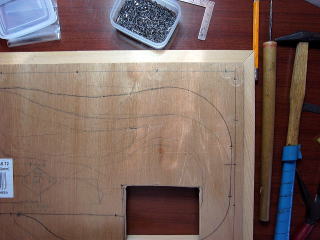
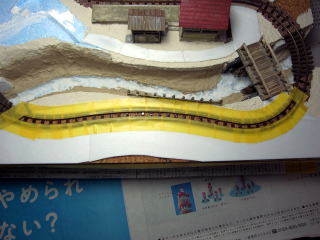
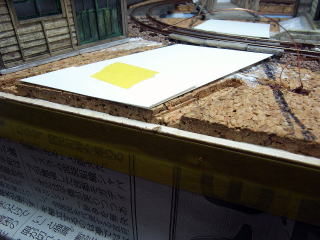
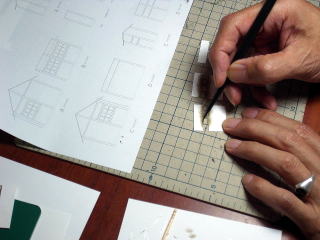
I describe a track position in 3 millimeters of veneer of the surface of the earth part

Introduction of a work process
Work No.120314 NOBI HANAMI Rail way
I finish an end in this way this time.
I color a grassy place part it
I bury wood flour clay in the track central part
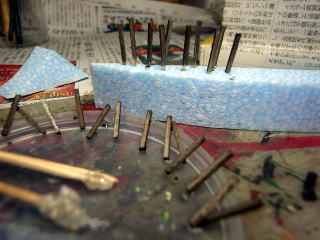
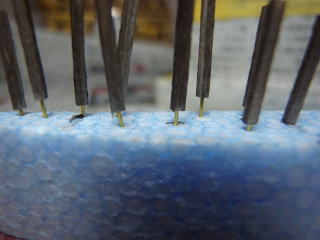
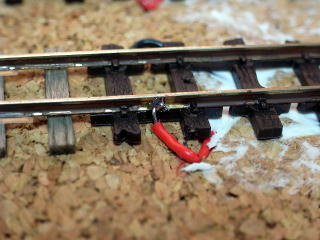
I paint a foot in charge account vermilion in a brass line
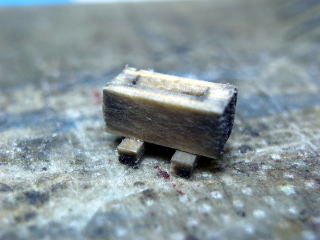
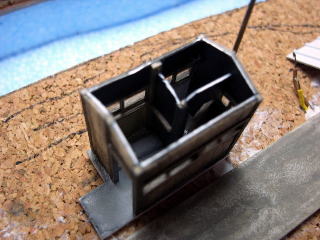
I prepared for the offertory box
Set an accessory
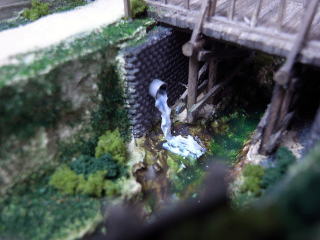
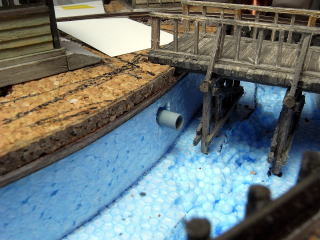
Drainage pipe setting
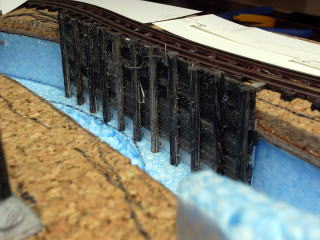
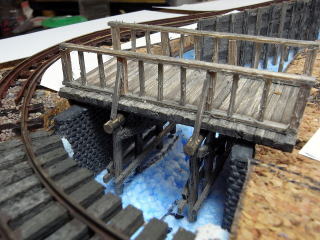
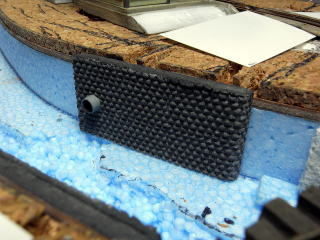
Retaining wall of the woody bridge part
I dig a drainage and am crowded
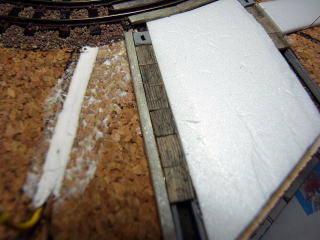
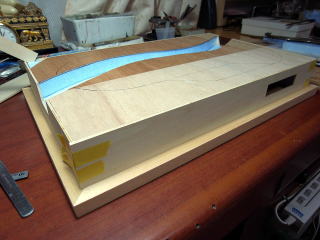
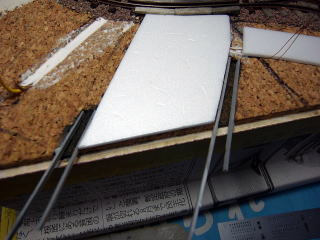
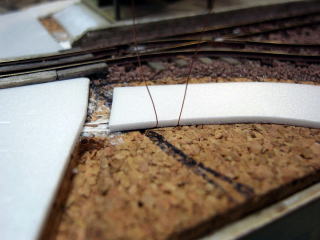
I get a hill part fixed with a styrene board
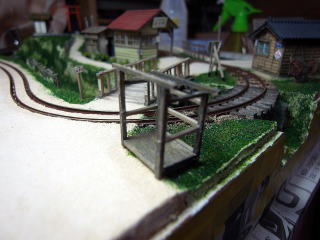
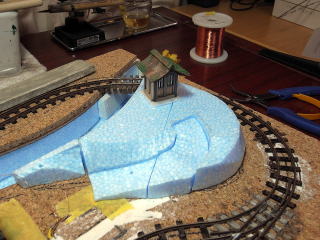
I put a woody bridge provisionally and do it and am confirming position relations
I glue a takeoff together
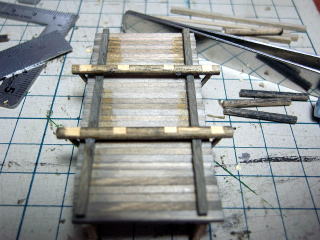
I glue the railroad tie of the bridge part together
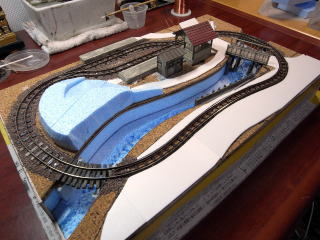
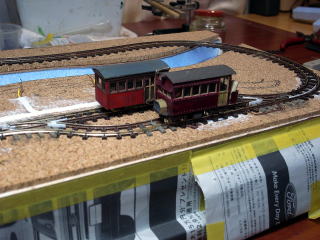
I put it provisionally and do structure and look at the state
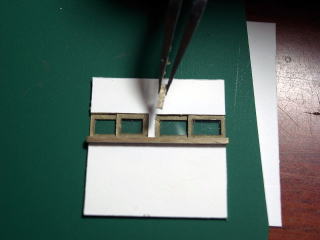
I cut a glass part to a housing part
I apply adhesive
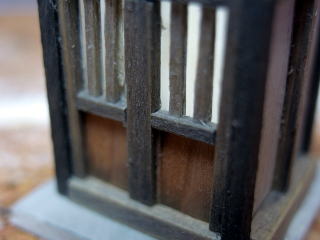
It is glued together by the window housing part part
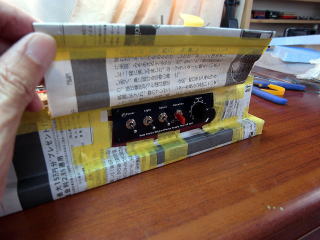
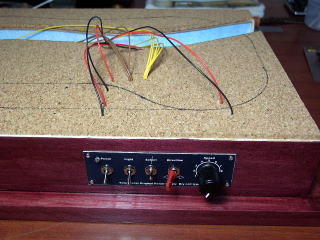
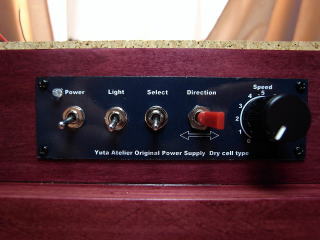
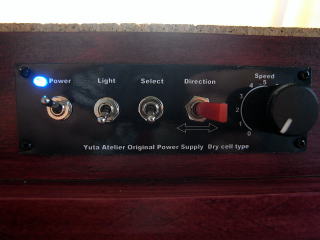
Power pack and the Control Panel which were completed
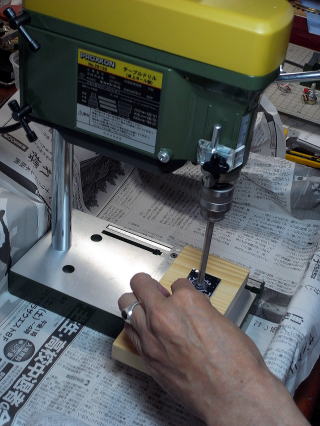
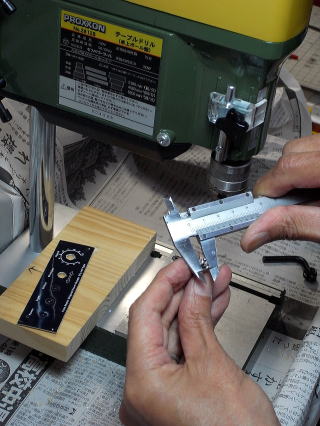
I cut a tap for panel installation
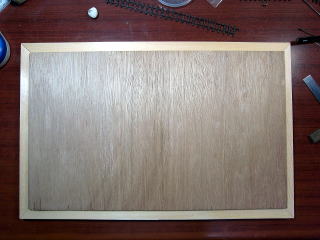
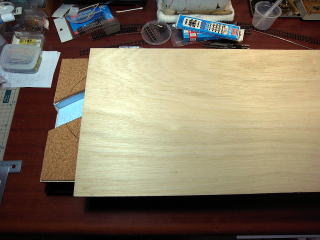
I make a layout base with hinoki squared lumber and China veneer.
I cut it and pin hinoki squared lumber on 45 degrees and make finish
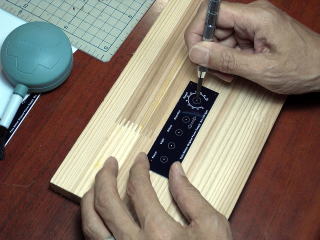
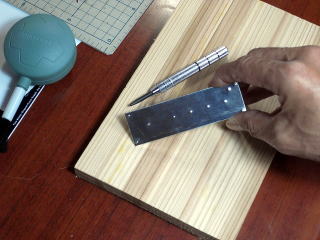
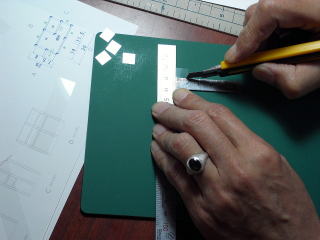
There is not the cutting position with the pencil, and is a cutter; marking
gauge
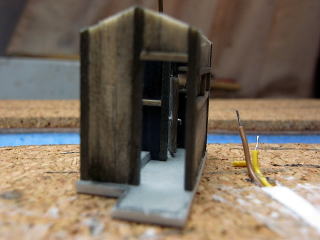
Is a rest room, the thing which do not see to the inside if install it,; but ...
I put books like a point and put it overnight.
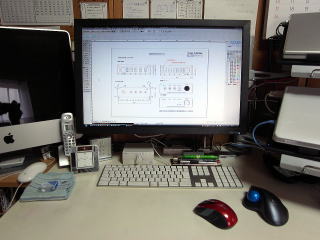
I design Control Panel by CAD softwareware.
The state that finished the road part
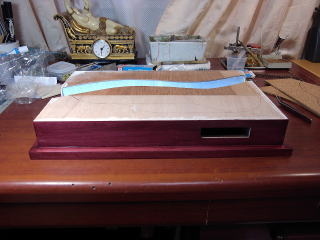
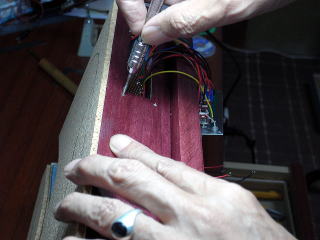
I attach a power pack base to a layout
I paint four times and repeat it in total and seem to finish it.
I paint it in a mahogany color.
I glue a smoothly planed board together in fast-dry bond.
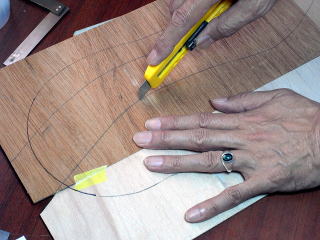
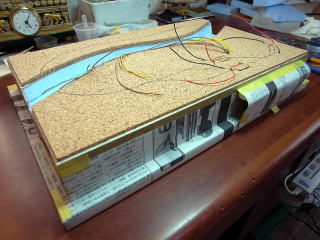
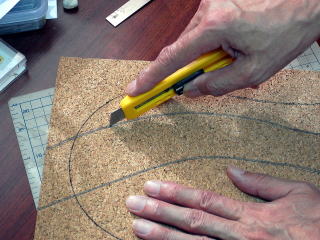
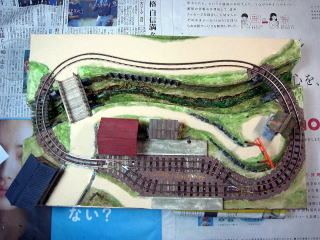
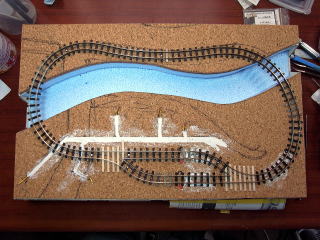
I draw a river and a track position on the cork sheet
The veneer of the surface of the earth part cuts for Kawabe, too.
I cut one piece of upper part of the styrene board and make for Kawabe.
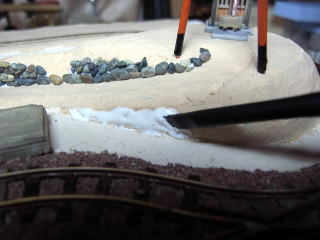
I paint with production mat medium of the stone wall
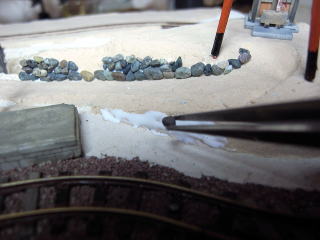
I stick a pebble
The stone wall which was finished
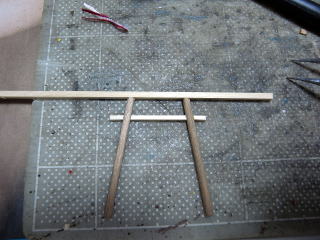
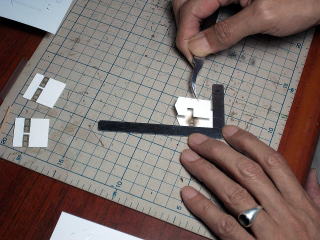
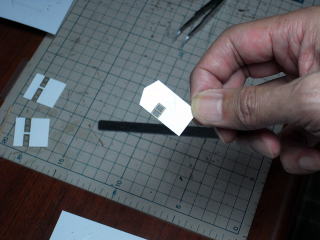
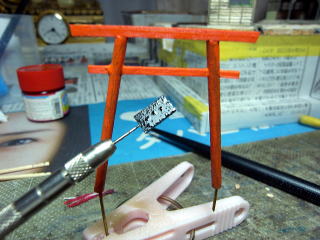
I make a TORII
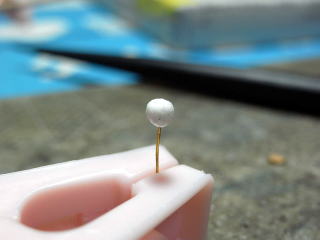
This is an intention of the bells )↓
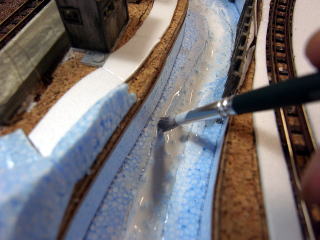
I make a ditch after the painting at a bottom
I glue a meeting place measure and a sulcular cover together
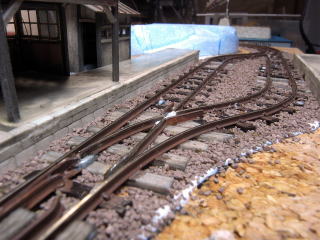
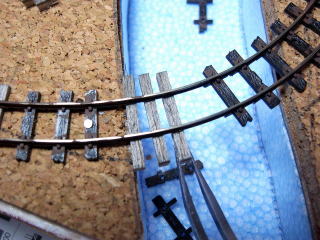
I paint with mat medium earlier so that ballast is not scattered and sprinkle ballast. The adherence is mat medium water solution; (for mat finish)
I install wooden sand guards
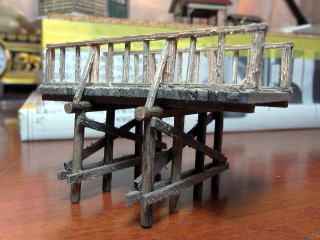
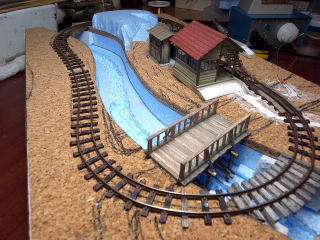
A bridge and woody bridge of the railroad line
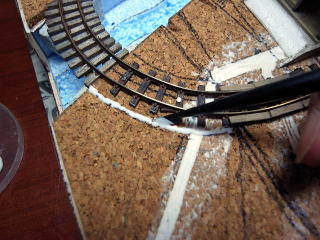
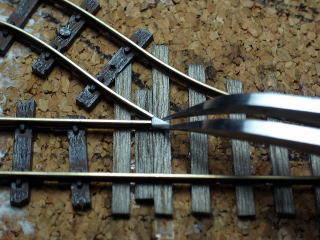
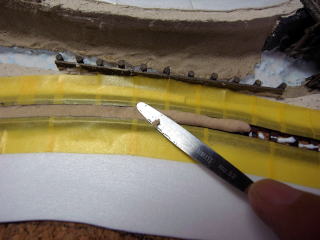
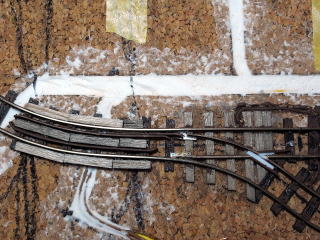
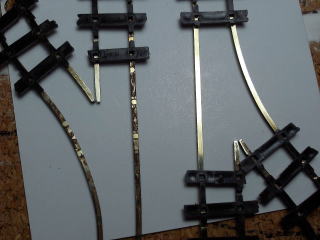
I sharpen plastic and have orthopedic treatment, and the insulation part adheres. I decide the rail of the turnout part by goods alignment, and it is soldered a brass board by a retainer.
I attach it to a doorknob
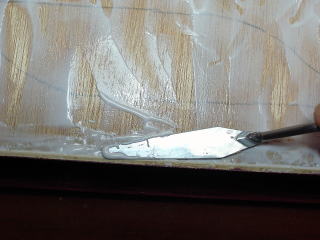
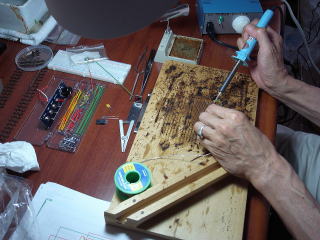
I bury wiring to each structure and flatten the surface in pate
Pate is in condition I bury it, and to have done it
I mask it in a makeup part for layout making.
The drawing figures that is structure is CAD,
and the cut is C.R.
I attach a battery box
The state that has begun to draw a lead on the surface of the earth
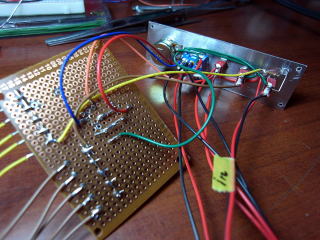
I go while I make a hole in a panel, and a production soldering iron is one's own controller, and controlling the main body of power pack.

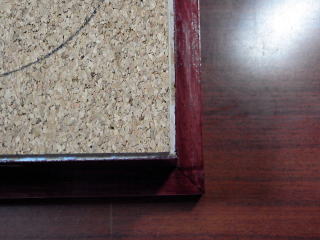
The luster is finished neatly well, too.
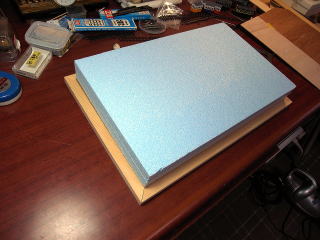
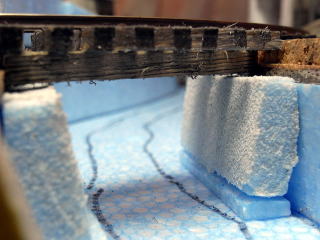
I glue a cork sheet together. The end share applies adhesive well not to become alienated

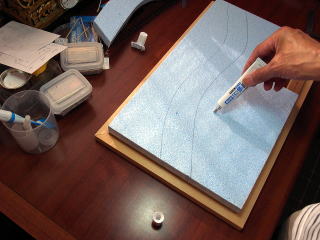
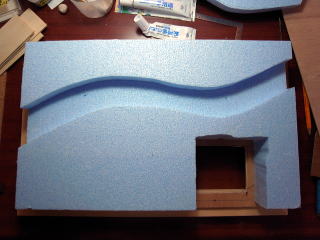
I cut styrene (20 millimeters of *2 piece of thickness stack) of the base
I cut 3 millimeters of veneer for the surface of the earth
I open a power pack installation part
Is one size small and sticks 5.5 millimeters of veneer.
I lower this part by approximately 1 millimeter from a track surface and finish it
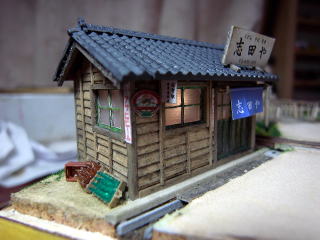
Because I am slightly lonely, I add a bus stop
The drainage is expressed in gel medium
The structure illumination is OK, too
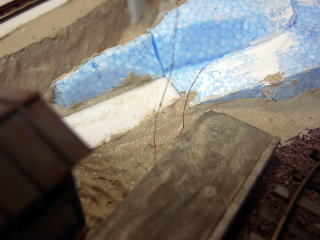
I dig into some middle parts of the river.
I fix a woody bridge
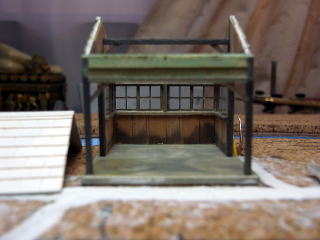
It is glued a sash together by a wall part


I apply a plaster on the part which the river dug into
It is glued 2 millimeters of thickness styrene boards
together by a road part
Please look at the direction with the interest which has not published the portion which overlaps with the contents introduced
by SAKURA Railway also there.
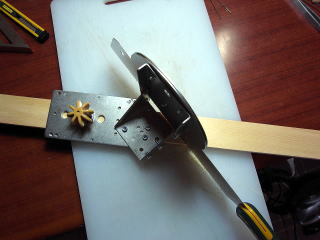
I cut it with angle limit jig and an exclusive saw
I mark it in a punch to make a hole for installation. (this automatic punch is convenient)
I make a fence
I attach a foot in 0.3 millimeters of brass line
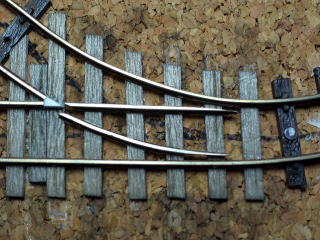
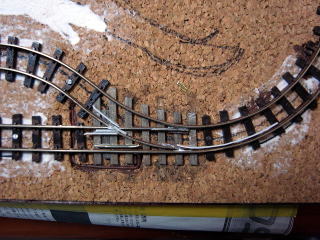
I mask a track of the combination orbit
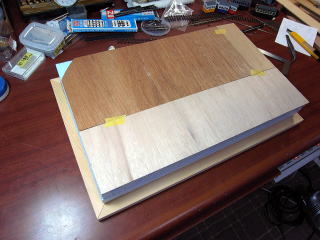
I ride a thing of 5.5 millimeters of thickness veneer degree if I can put it on the whole.
The cork sheet cuts for Kawabe, too.
It is glued a styrene board and 3 millimeters of veneer together by a layout basis.
I put books on the top and put it overnight.
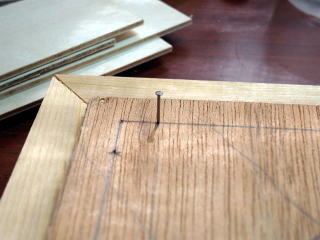
I fix the veneer with adhesive and a nail well.
The photograph explains the process to completion.